Dabbling with Raspberry Pi

I was trying to get my hands on a Raspberry Pi since last year but ordering it via Element 14 (ex. Farnell) – Link to buy online – seemed like it would take ages! So last week I went to the IT Show @ Expo and found a small shop selling new Raspberry Pi Model B at S$ 59 !
My Setup
- 1 Raspberry Pi Model B
- 1 Keyboard & Mouse
- 1 60″ Samsung TV with HDMI port
- 1 Samsung Galaxy S2 mobile charger
- 1 LAN wire to connect to the router
Guide to setup the Pi
Official Guide from Raspberry Pi Org!
Some extra comments:
Edit the raspi-config (sudo raspi-config)

- Enabled expand_rootfs. This helps to use your SD card’s full space (if you are using NOOBS.zip then this option is enabled by Default)
- Disabled overscan (allows full HDMI display)
- Set configure_keyboard (Set Timezone to your local timezone, set keyboard layout to Generic 105 US Layout or UK layout and ensure the encoding is UTF-8)
- Set change_pass (sets new password for the root user ‘pi’)
- Enabled ssh
- Enabled boot_behaviour (in order to boot to startx server or LXDE desktop directly)
Voila! The raspberry pi is now live and running!
So, what to do next?
The first thing I did is run 2 commands to update my libraries and utilities – sudo apt-get install update & sudo apt-get install upgrade
The next thing I did is get my Raspberry Pi online!
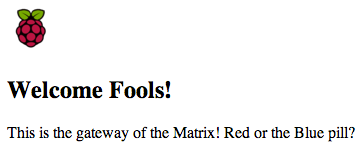
- Created a new directly called “RaspberryPi” and put a index.html file inside it.
- Then. ran the following command : python -m SimpleHTTPServer 8080
- Hurray! Now I have functioning web server and my Pi is online! http://localhost:8080
